Modes in Blender
Blender has different modes depending on what you want to do with your objects. The three main ones we’ll use are:
Object Mode Edit Mode Sculpt Mode
-
Object Mode: The big picture. Move, rotate, scale, or duplicate entire objects.
-
Edit Mode: Dive inside the object and shape its building blocks → vertices, edges, and faces.
-
Sculpt Mode: Work like digital clay, pushing, pulling, and smoothing surfaces.
Object Mode
Object Mode is where you treat each object as a whole unit. Here’s what you can do:
-
Select objects:
Left clickto pick one,Shift + Left clickfor multiple,Afor all of them. Like we saw on the last module. -
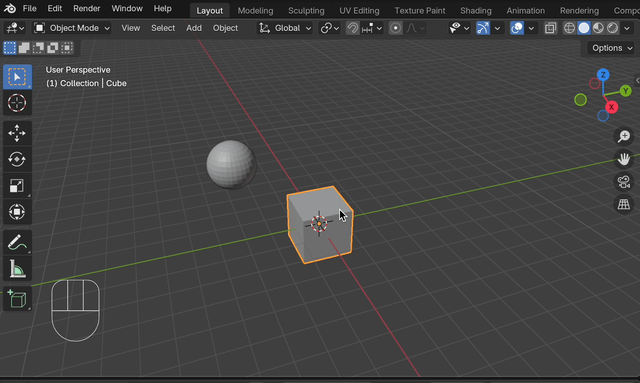
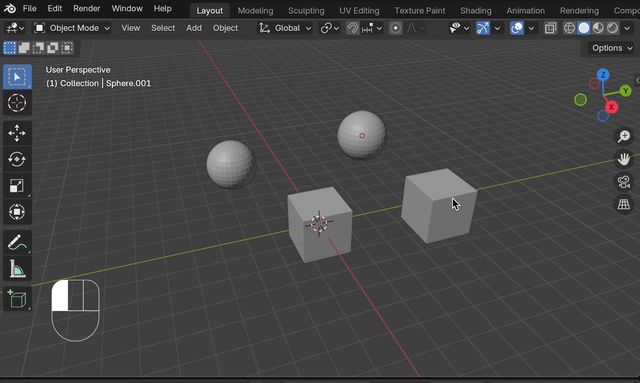
Add objects:
Shift + A→ choose Mesh (cube, sphere, cylinder, etc.).

- Duplicate:
Shift + Dmakes a copy of your object.
- Delete objects: Select and press
X, then delete.
- Hide/Unhide: Press
Hto hide,Alt + H(Option + Hin Mac) to unhide. Or select them in the outliner and click on the eye icon next to the object's name (the eye shuts when object is hidden).
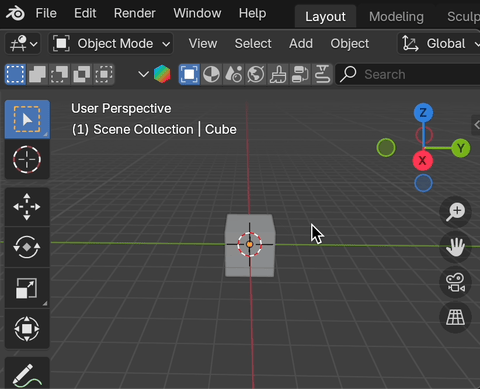
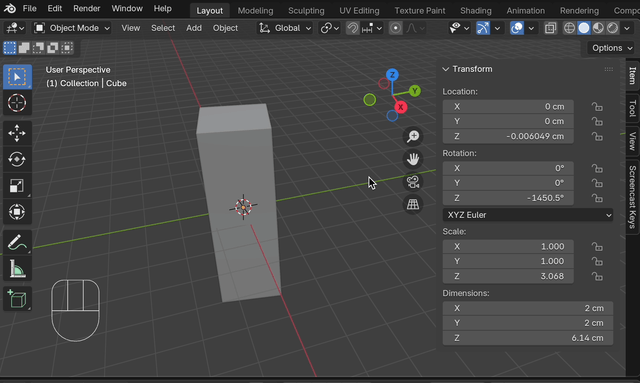
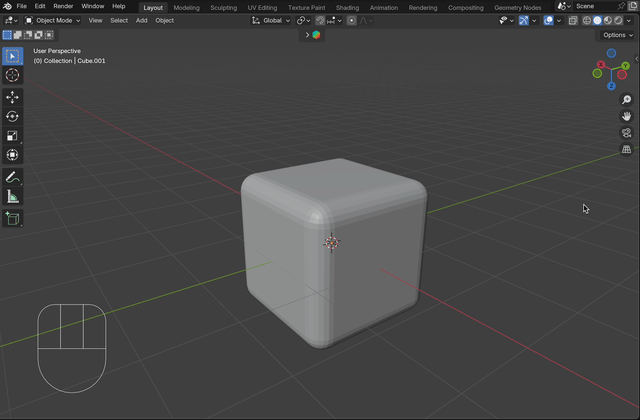
- Move
G, RotateR, ScaleS: The core transformations. AddX, Y, Zafter the key to lock it to an axis. Click anywhere to finish action.
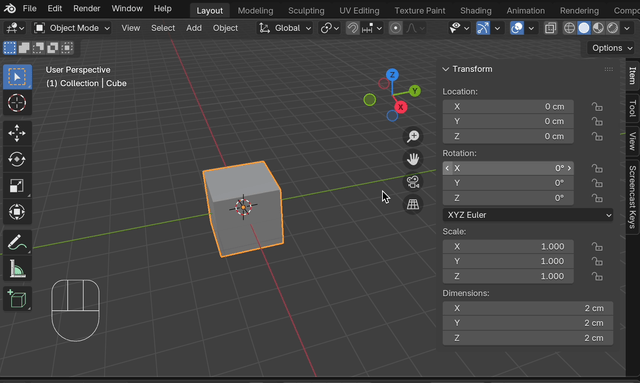
Transformation in Z axis
Notice that all transformations (location, rotation, and scale) show up live in the Item panel on the right. Open it by pressing N.
- Apply transforms:
Ctrl + A(Command + Ain Mac) → Apply Location, Rotation, or Scale.
This “locks in” your changes and is essential before exporting for 3D printing. Ideally, before exporting, your object should have:
Location: 0 on X, Y, Z
Rotation: 0 on X, Y, Z
Scale: 1 on X, Y, Z
Don’t worry if this last part feels confusing, we’ll dive deeper into it later. For now, just apply transforms and focus on making your modifications in Edit Mode.
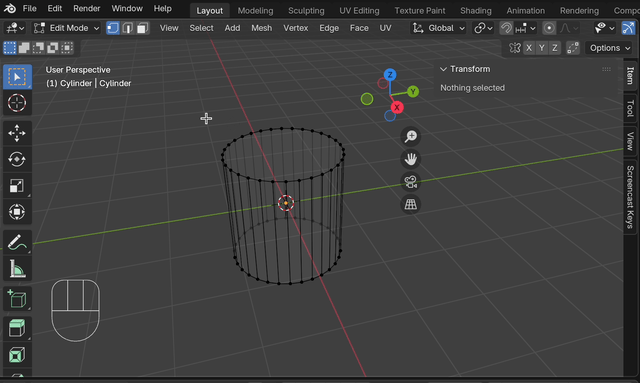
Edit Mode
Edit Mode is where you go inside an object to modify its actual geometry.You can switch between Object Mode and Edit Mode with tab.
Before we start editing, let’s understand what we’re working with:
What is a Mesh?
A mesh is the 3D structure of most objects in Blender. It’s made up of three building blocks:
- Vertices: Points in 3D space.
- Edges: Lines connecting vertices.
- Faces: Flat surfaces enclosed by edges.
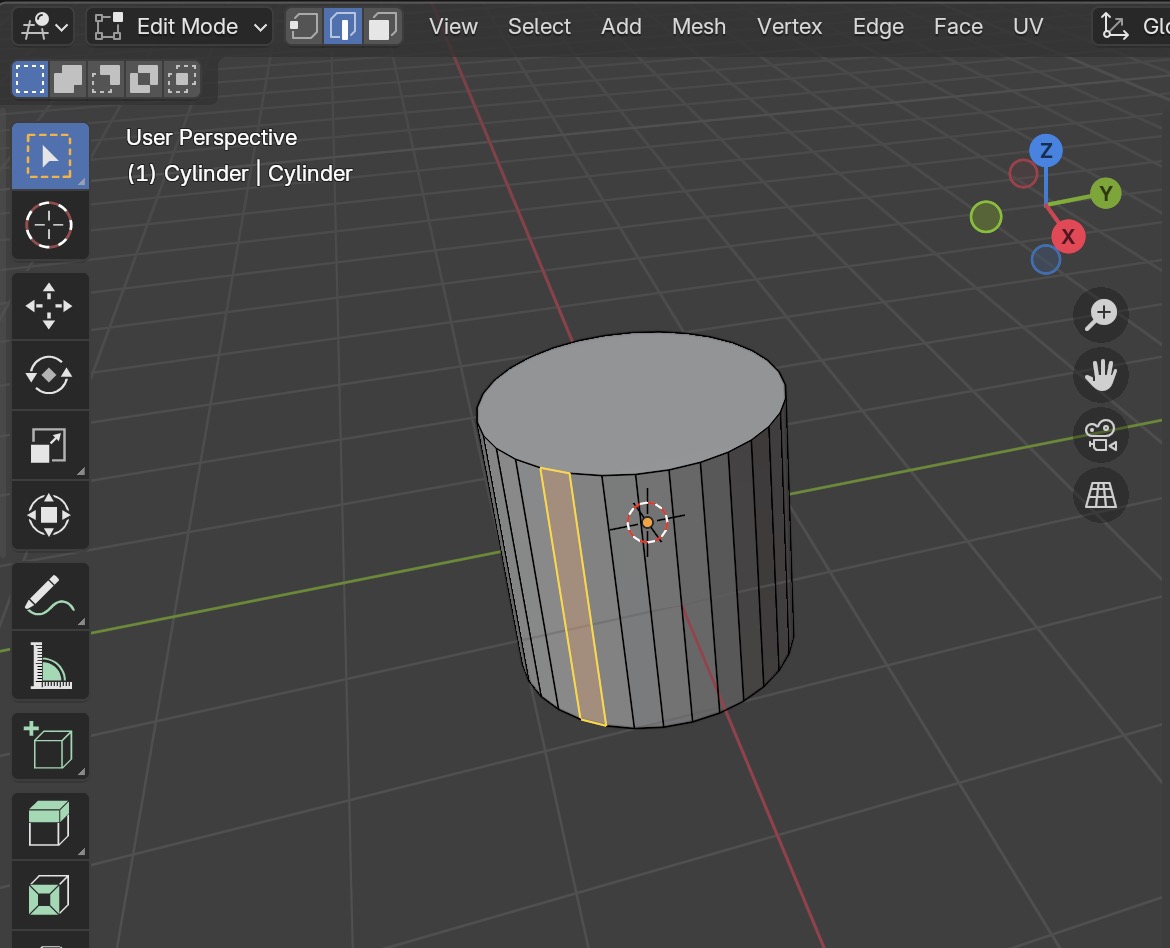
You can switch between vertices, edges, and faces by clicking the icons to the right of “Edit Mode,” or use the shortcuts: 1 for vertices, 2 for edges, and 3 for faces.

Like this:
I am using Wireframe View.
Just like in Object Mode, you can select everything in the scene by pressing A.
Basic Actions in Edit Mode
Now that you know what a mesh is, here’s what you can do inside Edit Mode:
- Move, Rotate, Scale: you can transform parts of your mesh just like in Object Mode. Select a vertex, edge, face or the whole object, then:
Press G to move (grab) it.
Press R to rotate.
Press S to scale.
You can constrain the transformation to an axis by pressing X, Y, or Z after G, R, or S. Click anywhere to finish action.
You can also type a number after pressing G, R, or S to move, rotate, or scale by an exact amount. For example, press A to select everything, G, then X, then type 2, and the selection moves exactly 2 units along the X axis.
- Extrude: press
Eto creates a new geometry from your selection. Like stretching a face or edge into a new shape by dragging the cursor. Click anywhere to finish action.
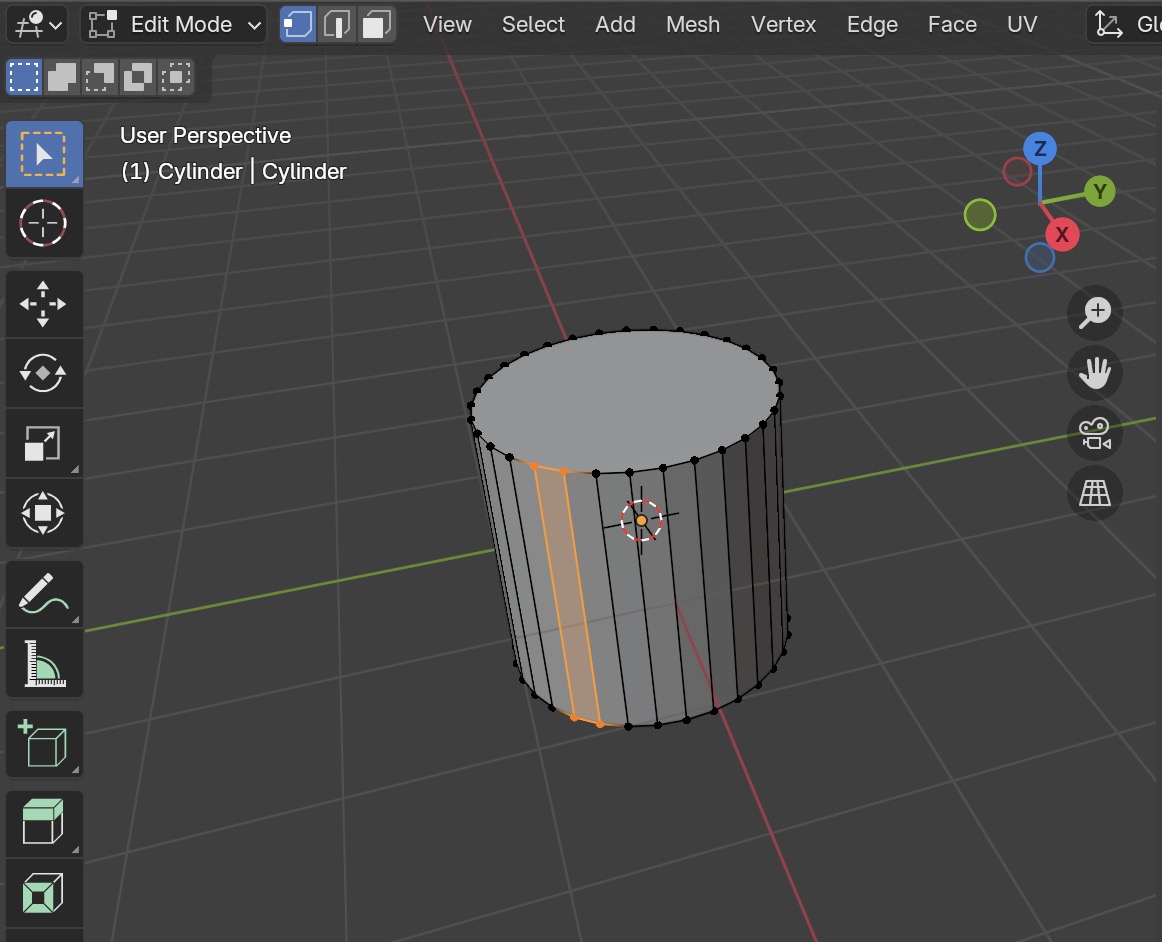
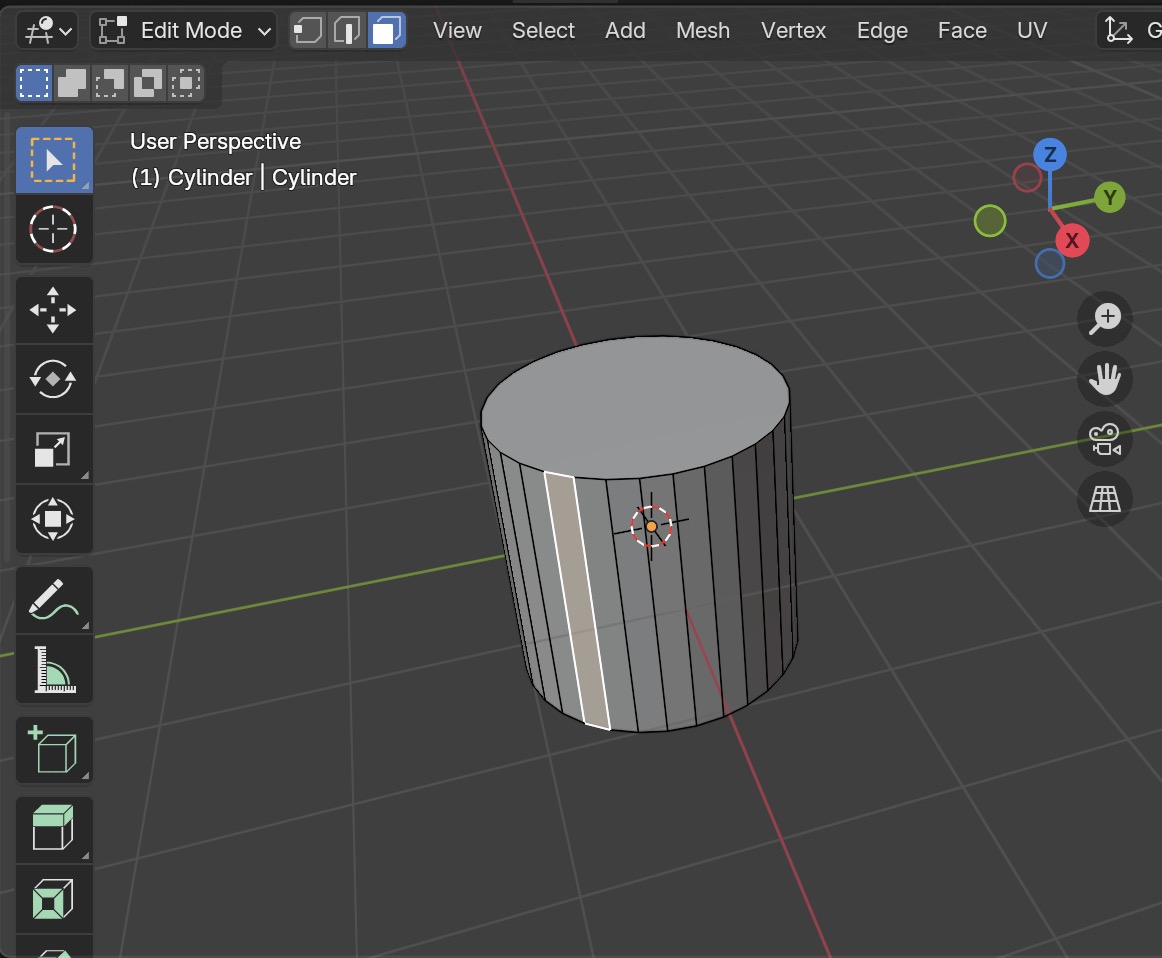
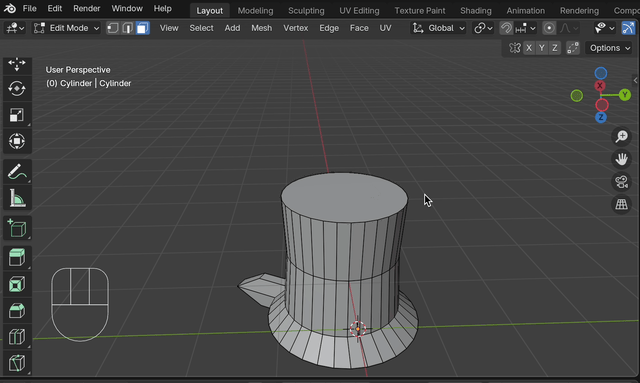
- Loop Cut: press
Ctrl + R(Command + Rin Mac) to add a loop cut, which creates a new edge loop around your mesh. This is useful for adding more detail or controlling how your mesh deforms. Click anywhere to finish action.

Here I added a loop cut and then scaled it.
- Bevel: smooths out edges or corners by creating extra geometry. Select an edge (or a group of edges), then press
Ctrl + B(Command + Bin Mac) and drag your mouse. You can increase or decrease the number of segments for a smoother bevel.
Let’s add a cube as an example to see the difference when beveling an edge and a vertex:
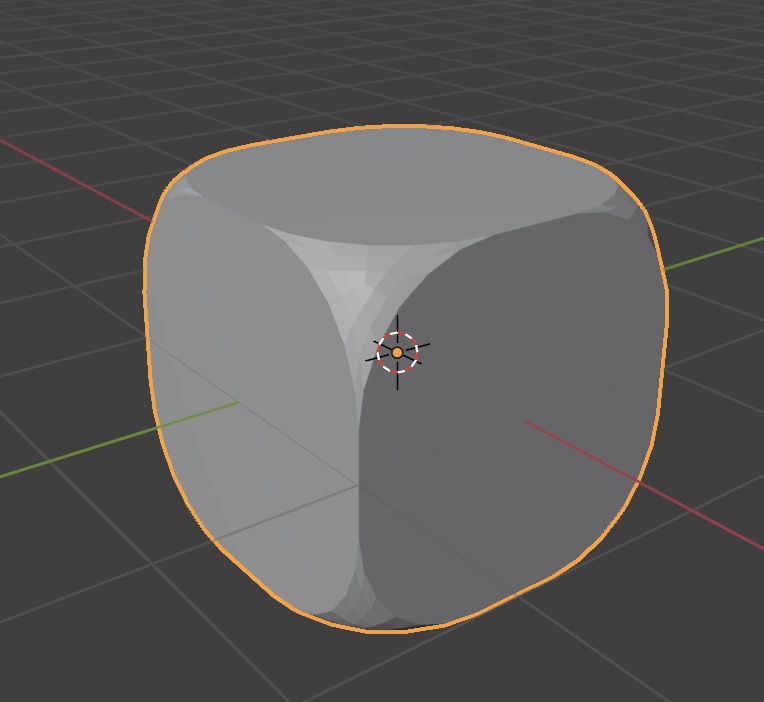
Vertex Bevel
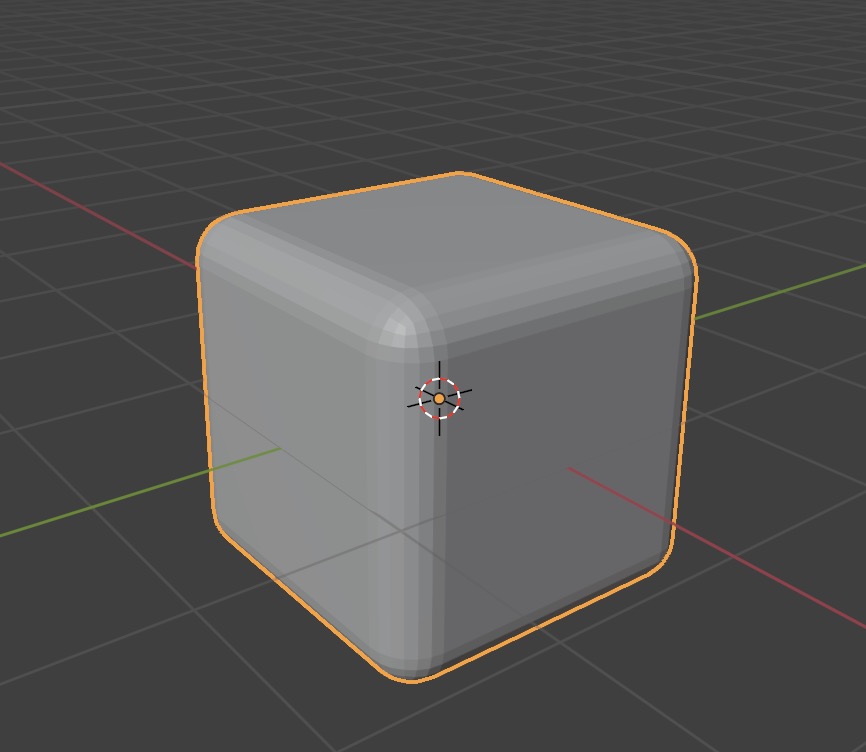
Edge Bevel
Beveling is especially handy for making objects feel less “sharp”.
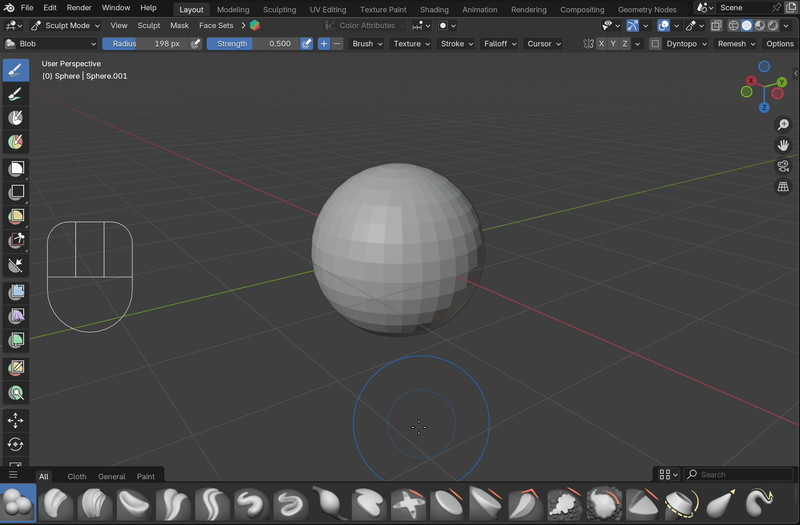
Sculpt Mode
Alright! We’ve covered 2 out of the 3 main modes in Blender. Now let’s take a peek at the last one: Sculpt Mode.
Think of it as digital clay — instead of moving points and edges, you push, pull, smooth, and shape objects more freely. It’s especially useful for creating organic forms like faces, characters, or natural surfaces.
Press Shift + A to add a UV Sphere, then switch to Sculpt Mode from the same drop-down menu where you find Object and Edit Mode. This will be our workspace.
At the bottom of the viewport you’ll find the brush menu. Each brush mimics a hand-sculpting action. Let’s start with the Grab brush — click and drag to pull part of the surface.
Hmm… not much happened, right? That’s because two important settings are low by default: Radius and Strength.
- Radius controls how much of the surface area the brush affects. Hover your mouse in the viewport and you’ll see a circle around the cursor. Press
Fand move your mouse to adjust the size (click to confirm).
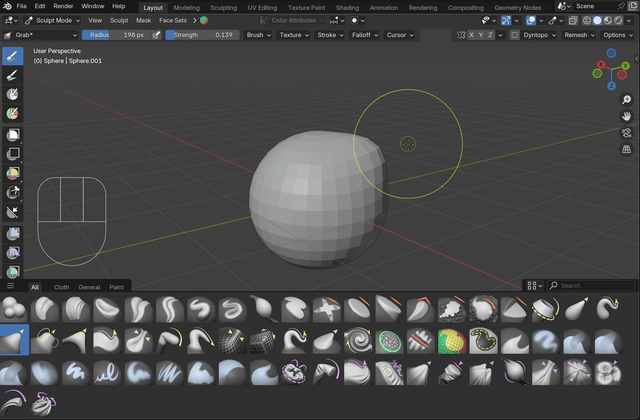
- Strength controls how strongly the brush deforms the mesh. You’ll see it as a smaller circle inside the main one. Press
Shift + Fand move your mouse to adjust (click to confirm).
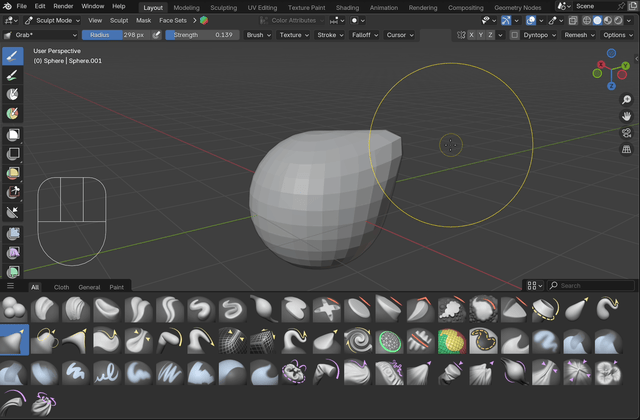
This is just a quick look. Right now, the UV Sphere may look jagged because it doesn’t have enough geometry to sculpt smoothly.
In the next module, when we learn about modifiers, we’ll see how to prepare objects for proper sculpting and how to combine the 3 modes more efficiently.